Displaying Surface Contours in ORD
Table of contents
This page explains how to manipulate contours in terrain files which are typically provided by the prime.
For Proposed Contours
-
Use the Element Selection tool to click on a terrain model boundary or contour.
- Once selected, the boundary will appear highlighted.
-
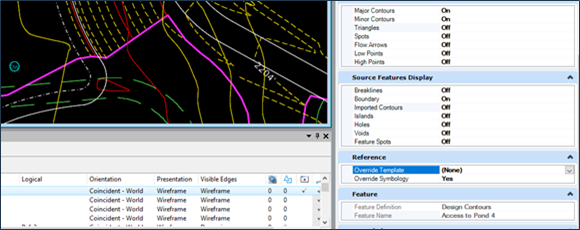
Click the Properties icon to display the Properties pane.
-
In the Reference section, change Override Symbology to Yes.
- When you select Yes, the Override template will display.

-
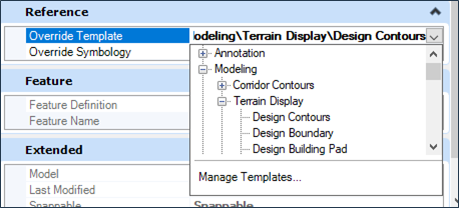
From the Override Template drop-down menu, select Modeling > Terrain Display > Design Contours.

-
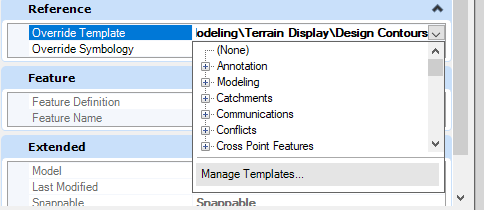
Select the same drop-down again and click Manage Templates…

-
Navigate to Modeling > Terrain Display > Design Contours.
- Change the settings to whatever you need.
-
Set the Override Symbology to Yes for each terrain model.
-
Set the Override Template to Modeling > Terrain Display > Design Contours
-
The Contour lines should now display in the design file.
For Existing Contours
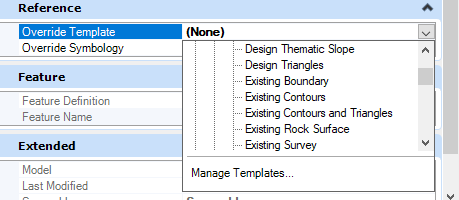
- Follow the same steps as above but set the Override Template in step 4 to Modeling > Terrain Display > Existing Contours.
- Existing contours are displayed in grey.

Troubleshooting
Text display issues
If there are issues with the way your text displays (elevation numbers), identify which style is being used and update it in Text Styles.The easiest way to access Text Styles is to use the Search bar at the top right of your screen.